

Click to Teach: Virtual Lighting Design
In this lesson you will be creating a lighting design to support a piece of music, just as if you were asked to create a lighting design to support a dance or to support a play. The first thing you need to do is to create a folder which will serve as your portfolio. It will hold your design and any of the materials you needed to create the design, along with some of screenshots of your work along the way. Create this folder on your desktop or in an online shared location of your choice. Be sure that everything you place in the folder has your name in the file name. Pause and do that now, then follow the steps in the lesson.
Step 1: Learn About Light Design
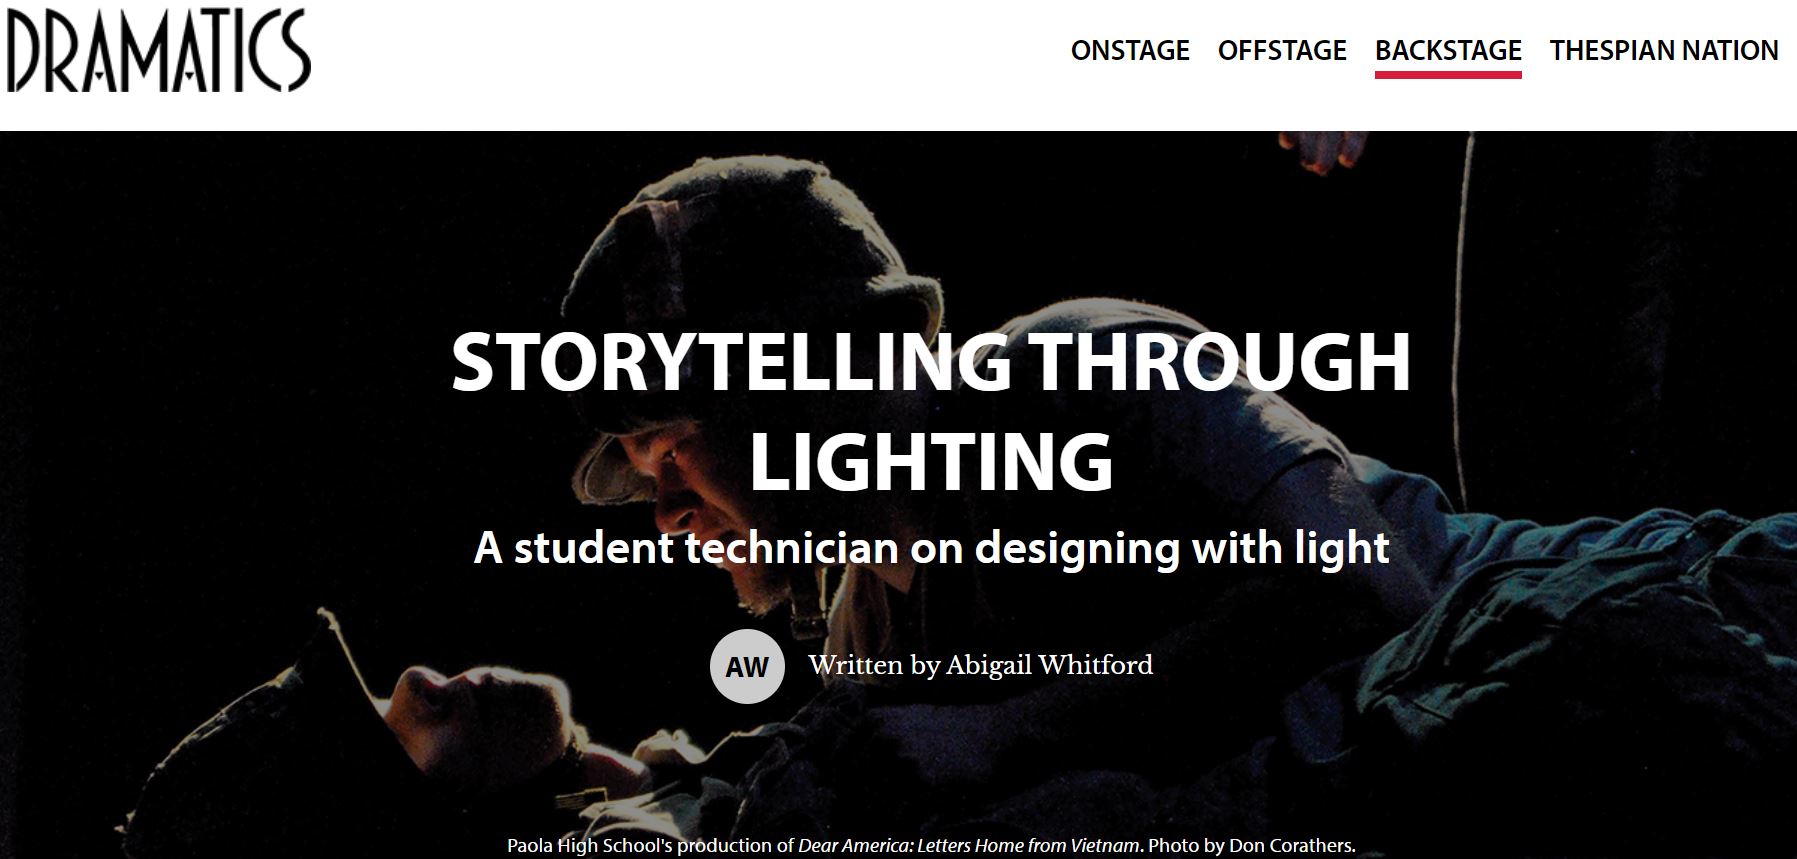
Lighting a set is all about helping to tell the story of the play. Click to image below to read Storytelling through Lighting by Abigail Whitford on Dramatics.org to learn how a lighting design supports a production.
Step 2: Experiment with Color, Shadow, Pattern & Intensity
Scenic and lighting designer Matt Kizer offers free online virtual lighting tools for learning about light design. You will be using these tools to learn about light and shadow so that you can create a light design to support the music you have chosen. You will be using the "Gobo Lab"and "Color Lab" programs Matt designed to experiment with intensity, color and shadow, then in the next step you will put it all together using Light Lab for Dance to design light cues to support the story in your chosen song.
Learning About Shadow, Pattern and Intensity
Begin by learning about light and shadow using "Gobo Lab". Open the program and click on any of the blue dots. These are your lighting instruments. Use the sliding bar at the bottom to determine the intensity of the light for each instrument. It is great fun to play with adding a gobo by clicking on the patterned circles at the bottom of the image, but for our purposes make sure you have no gobos activated by clicking on the solid white circle at the far right.
Now try turning lights on and off by clicking on the blue dots and using the sliding bar at the bottom to adjust the light intensity until you have clearly lit the actors with minimal shadows on the set. Make a note of the lights you used (front light, back light, etc.) and the intensity for each light, then take a screen shot of that picture to add to your portfolio.
Learning About Color
Next go to the "Color Lab" program Matt designed. In the Color Lab, three instruments are pointed at the actors,one from the right, one from the left and one from the back. Controls above each instrument allow you to change the color and brightness just as you would be able to do by adding gels to white lights and varying their intensity with your light board controls.
Now try changing and mixing color and intensity until you have achieved the following four effects. For each effect make a note of the lights and colors you used and take a screenshot to add to your portfolio.
Two actors shown in bright natural looking "white" light, with sharp clear features and minimal shadows on the floor and walls.
Two actors in harsh white light from a particular direction as if coming from one light source, shadows accentuate the impression of one light.
Two actors in shadowed light but still with clearly lit features and minimal shadows on the floor and walls.
Two actors in colored light with sharp clear features and minimal shadows on the floor and walls.
Step 3: Choose a Piece of Music
Choose a piece of music from the resources on Freemusicarchive.org or similar royalty free music site. It is best to choose an instrumental without lyrics and words. Make sure the piece you chose suggests a strong mood or theme and involves some sort of change or dramatic build. You will be asked to create a light design by imagining a story suggested by the music including details such as the time of day and location. Finally you will be creating a lighting design by imagining a story for this music and designing lights to support the telling of that story. Add your name to the file name for the music and put it in your folder.

Step 4: Write Your Story
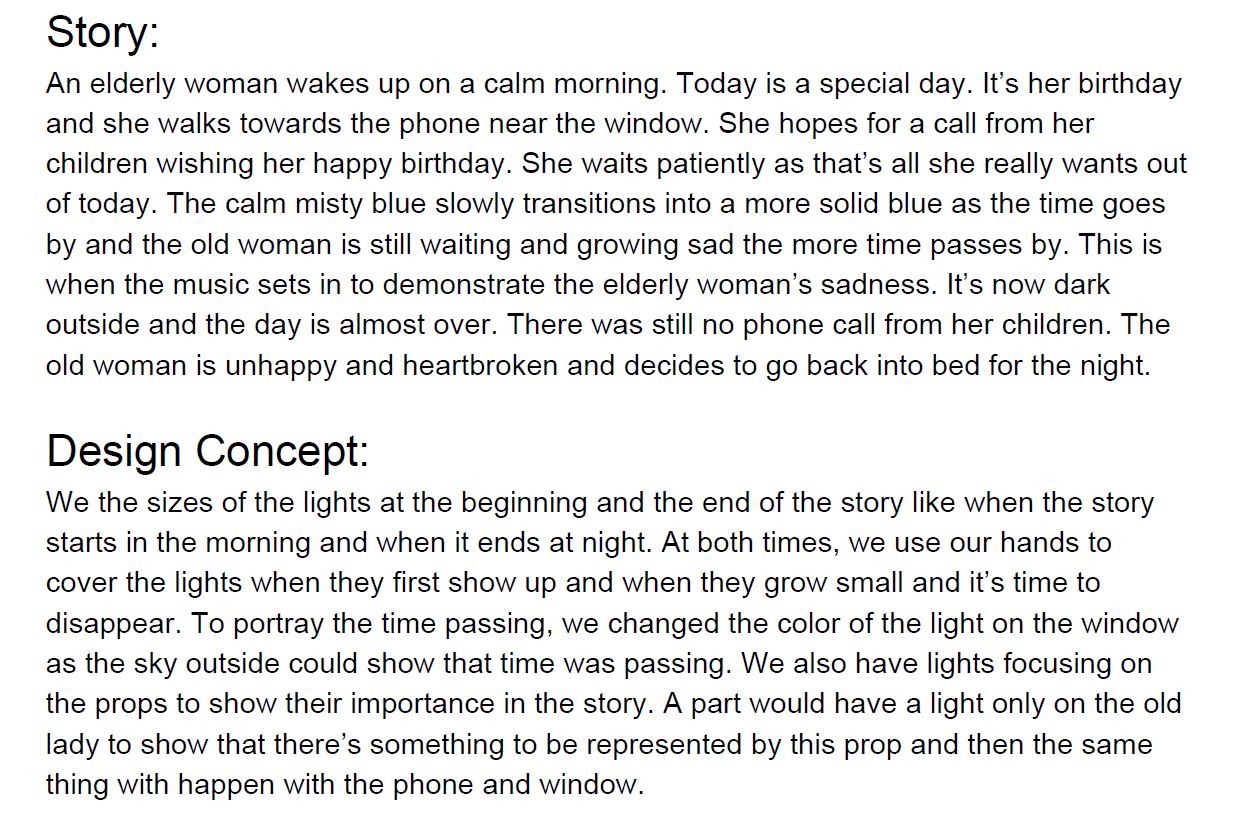
When a lighting designer works with a script and a director's concept, they begin with a good idea of the story they want to tell. For purposes of this exercise, you will need to create the story to create the story and design concept yourself. Use internet research to help you determine the genre of the music. Find a picture or pictures that help inspire you to imagine a story and mood. Here is an example of music and the backstory imagined by a student who participated in a lighting design lesson like this one.
Get Inspired: Check out this sample backstory.....
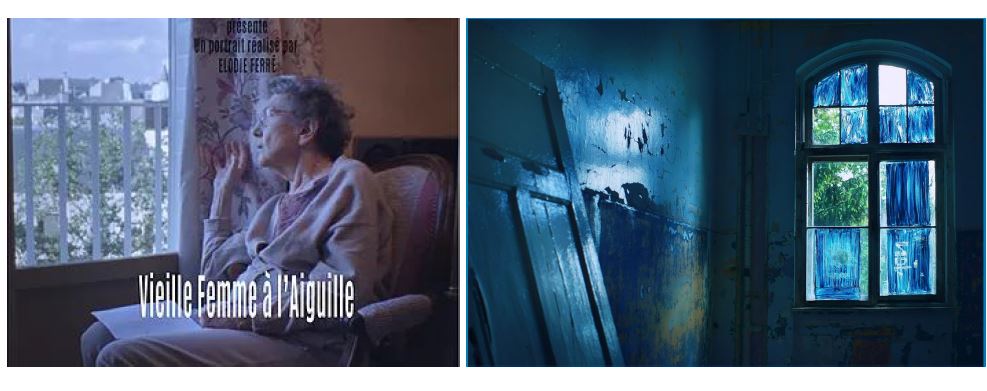
.... and images
....and final student design.
Step 5: Create Your Light Design
Creating a Story with Light
For the final exercise you will use the Light Lab for Dance program. In this program, several figures stand on a traditional stage. You will be able to light them from several angles, light the cyclorama along the back of the stage, add gobos and use the addition of special lights for effect in the main areas of the stage - UR, UC, UL, RC, CS, LC, DR, DC, DL. This program offers a sampling of some of the basic tools a lighting designer has at their disposal to create lighting and lighting effects to support the story.
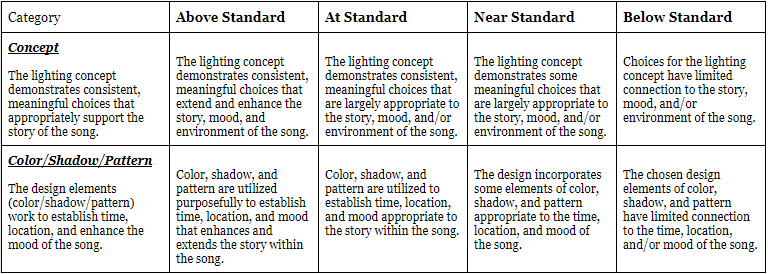
Using a light cue sheet and the Light Lab for Dance program, design 4-6 cues that tell the story of your piece of music. Write down the light settings for each of the cues and take a screen shot. Now add this and your music to your portfolio. Use the rubric below to help guide your work.
Diving Deeper
Want to know more about lighting designers work? Watch the following video to learn about the experiences of two professional lighting designers.
Measuring Learning
Classroom Connections
Virtual Lighting Design makes a great student lesson for 3-4 class periods. This lesson includes HS Proficient standards but could easily be adapted for use with HS Accomplished or even Middle Grades. To view a semester long unit go here.
Standards:
High School Proficient
TH:Cr1.1.I.a. Apply basic research to construct ideas about the visual composition of a drama/theatre work.
TH:Cr1.1.I.b. Explore the impact of technology on design choices in a drama/theatre work.
TH:Cr1.1.I.c. Refine technical design choices to support the story and emotional impact of a devised or scripted drama/ theatre work.
TH:Pr5.1.I.b. Use researched technical elements to increase the impact of design for a drama/theatre production.
TH:Re9.1.I.a. Consider the aesthetics of the production elements in a drama/theatre work.
Middle Grades
TH:Cr1.1.7b. Explain and present solutions to design challenges in a drama/ theatre work.
TH:Cr1.1.8.b. Imagine and explore multiple perspectives and solutions to staging problems in a drama/theatre work.
TH:Pr4.1.7.a. Consider various staging choices to enhance the story in a drama/theatre work.
TH:Pr5.1.7.b. Choose a variety of technical elements that can be applied to a design in a drama/theatre work.
TH:Pr5.1.8.b Use a variety of technical elements to create a design for a rehearsal or drama/theatre production.

| Access Date | Quiz Result | Score | Actions |
|---|
Learning Center
- Webinars
- Adjudication Trainings
- Featured Courses
- Full Course List
- Lesson Plan Library
- Click to Teach Interactive Online Lessons
- Resources for New Theatre Teachers
- Technical Theatre Educator's Manual
- Connected Arts Networks
- Diverse Resources for Theatre Education
- Behind the Scenes Technical Theatre Curriculum
- Social & Emotional Learning
- Additional Standards Based Instructional Resources
- Search the Catalog
- Cart (0 items)
Full Site Search
Membership Benefits
Join EdTA for full access to our professional development and standards-based teaching resources, including:
- 300+ lesson plans
- Click to Teach online lessons
- K-12 curriculum
- Webinars
- And more!