

Scenic Design - Level 2
In this level, you will have the opportunity to create a 3D model to communicate your design. The final challenge will be to make a shoebox diorama of your set design.
On your journey to tackle the Final Challenge and complete the Level, you will need to earn 2 Power Ups and gain 2 Experience Points along the way.
In this level, you will:
- Gain Experience by creating a mood board for your set design
- Power Up by exploring how to make set pieces for your model
- Power Up by collecting materials to create your model
- Gain Experience by crafting set pieces for your model
- Take on the Final Challenge by putting it all together in a cohesive 3D model of your design
This Level Up Challenge is based on a unit designed and developed by student Thespians.
GAIN EXPERIENCE: Make an Inspiration Board

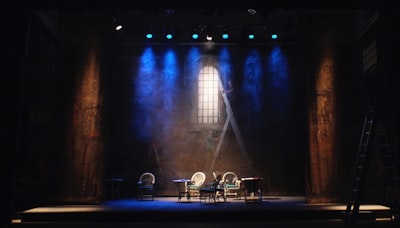
In Scenic Design Level 1, you should have created a sketch/rendering of your set design concept for your chosen scene. Now in Level 2, you will build a 3D model to communicate your design concept.
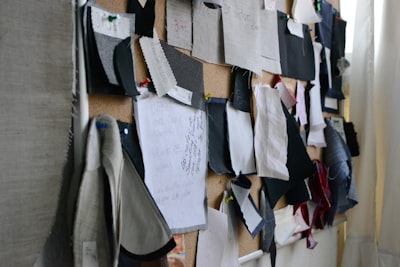
Before you start building your model, take some time to get inspired and build a mood/inspiration board for your set design. Think about the theme, mood, symbols, colors, patterns, textures, etc. that you may want to include, and collect some images that convey these ideas. You can even look for images that could inspire the specific set pieces you would like to include. This collage of photos will help communicate your design concept and guide you in the process of crafting your 3D model.
TO GAIN EXPERIENCE: Create a mood/inspiration board. The photos can be collected on a physical board, a virtual slideshow, or you can use a tool such as Pinterest.
POWER UP: Discover Model Making Techniques

Now that you've powered up by getting inspired, you are ready for the next step of learning how to create a model. For this challenge, you will crafting a 3D model of your set design concept in a shoe box, or another small cardboard box that you have available. Using online resources and/or the help of a mentor, research techniques for creating set pieces for your model. You might start by watching the following two videos of people showing how they made their small cardboard box dioramas/models.
TO POWER UP: Research different techniques for creating model set pieces. Identify what set pieces you will need to be crafting to create your model.
POWER UP: Collect Materials to Craft your Model
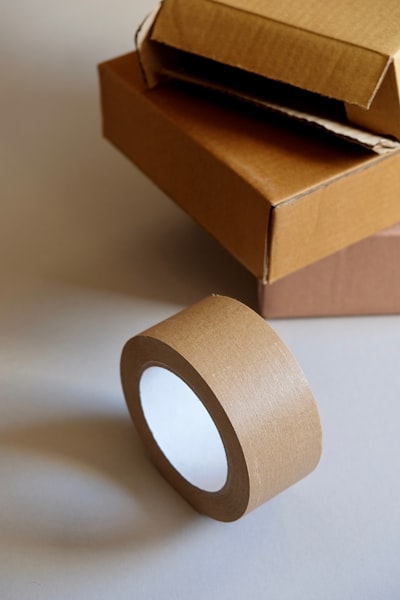
For the basis of your model, find a shoe box or another cardboard box. You can create your model either inside or on top of the box. If you are designing for a proscenium stage, you might want to turn the box sideways and use the opening to the box as your proscenium. If you are designing for a thrust or arena stage, you could create your model on top of the box.

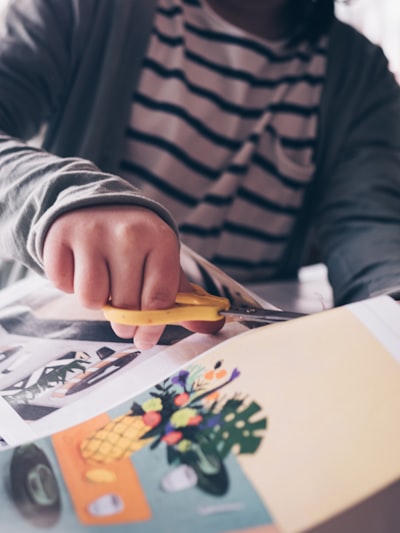
To create your set pieces, you can use paper or cardboard cut outs that are propped up or folded to stand up. You could also experiment with other disposable or recyclable materials, such as the person in the video who used bottle caps. Feel free to be creative when finding materials that will effectively communicate your ideas to others. Challenge yourself to only use objects that you can find around your home.
TO POWER UP: Collect materials from around your home that you can use to build your set pieces for your model.
GAIN EXPERIENCE: Craft the Set Pieces for your Model
Now that you've Powered Up by learning more about techniques to make pieces for your model, it's time to start crafting the set pieces for your model!
Use your sketch from Level 1 as a reference and base your model off of it. As you create the model, feel free to experiment with how things look and change things around as needed. You may make discoveries as you are crafting that you didn't think about when you were sketching, so your model may not be exactly the same, and that's okay.
TO GAIN EXPERIENCE: Craft the pieces that you need for your set design model using paper, tape, and whatever other materials you find at home that you can use.
TIP: Remember, your pieces for your model do not have to be perfect. All they need to do is communicate to someone else what your idea is.
FINAL CHALLENGE: Build your Model

During this journey, you powered up by learning more about how to make 3D models and gathering materials to create your model. You also gained experience by making an inspiration board and creating all of your set pieces to go in the model. Now, using the power ups and experience points you gained along the way, you are ready take on the final challenge: putting it all together and finalizing your 3D model.
TO COMPLETE THE FINAL CHALLENGE: Put all of the set pieces that you built into your shoebox or cardboard box and make sure they look the way you want them to! Don't forget to add color or pattern to the floor and walls of the box if that is part of your design - you can even just draw it directly on the box. Look at your model and make sure that all of the pieces you envisioned are there. Does your model represent and communicate your vision for the set? If not, make small edits until it does! If yes, then you have completed this challenge!